Can You Level Ground for a Swing Set?
Installing a large wooden swing set on uneven ground is a recipe for instability, accelerated wear, and safety hazards. Achieving a perfectly stable base is the non-negotiable first step in any safe installation. For homeowners facing sloped or irregular yards, expert-level site preparation is essential. This guide answers a fundamental question: What are the proven, professional techniques for transforming uneven ground into a rock-solid foundation for a big wooden swing set?
A wooden large swing structure requires absolute levelness to function correctly. An unlevel base causes uneven stress distribution, leading to racking (a parallelogram shift), joint failure, improper swing operation, and potential collapse. The process is methodical and demands patience, but the result is a safe and durable installation.
1: Assessment and Planning
Before moving any soil, conduct a thorough assessment.
Choose and Mark the Location: Select a site with adequate clearance (a minimum 6-foot perimeter plus swing use zones). Mark the exact corners of your large wooden playgrounds set's footprint using stakes and string.
Determine the Grade Slope: Place a long, straight 2x4 board inside the marked area. Set a carpenter's level on top. Measure the gap between the board and the ground at the low point. This tells you the total elevation change across the site. Even a 2-inch slope over 10 feet must be corrected.
2: The Leveling Process – Expert Techniques
For minor slopes (under 3 inches), you may grade existing soil. For more significant slopes, the expert technique is to build a retaining frame and fill with aggregate.
The Preferred Professional Method: The Gravel Frame Base
This technique creates a permanent, well-draining, and perfectly level foundation.
Excavate the Area: Dig out the entire marked footprint to a depth of 4-6 inches. Remove all grass, roots, and organic material.
Build a Retaining Frame: Construct a rectangular frame from pressure-treated 4x4 or 6x6 lumber that matches your set's outer dimensions. Use galvanized spike nails or rebar to secure the corners. This frame will contain the base material.
Establish Your Level Benchmark: Drive a tall stake at the highest corner of your excavated area. Using a water level or a laser level, transfer a "level point" from this stake to a second stake at the opposite (low) corner. The string line between these two stakes defines your perfectly level fill height.
Fill and Compact: Fill the framed area with 2-3 inches of coarse gravel or crushed stone (¾" minus is ideal). This provides drainage. Then, add a layer of angular, compactible gravel or decomposed granite. Use a hand tamper or a rented plate compactor to compact the material in 2-inch lifts (layers), checking constantly with a 4-foot level. Fill to the bottom of your wooden frame, using your level string as a guide.
Final Grade: The top of your compacted base should be flush with the bottom of your wooden frame and perfectly level in all directions. The frame now acts as a permanent border that contains the safety surfacing
3: Integration with Safety Surfacing
Your level base is now ready for the critical safety layer.
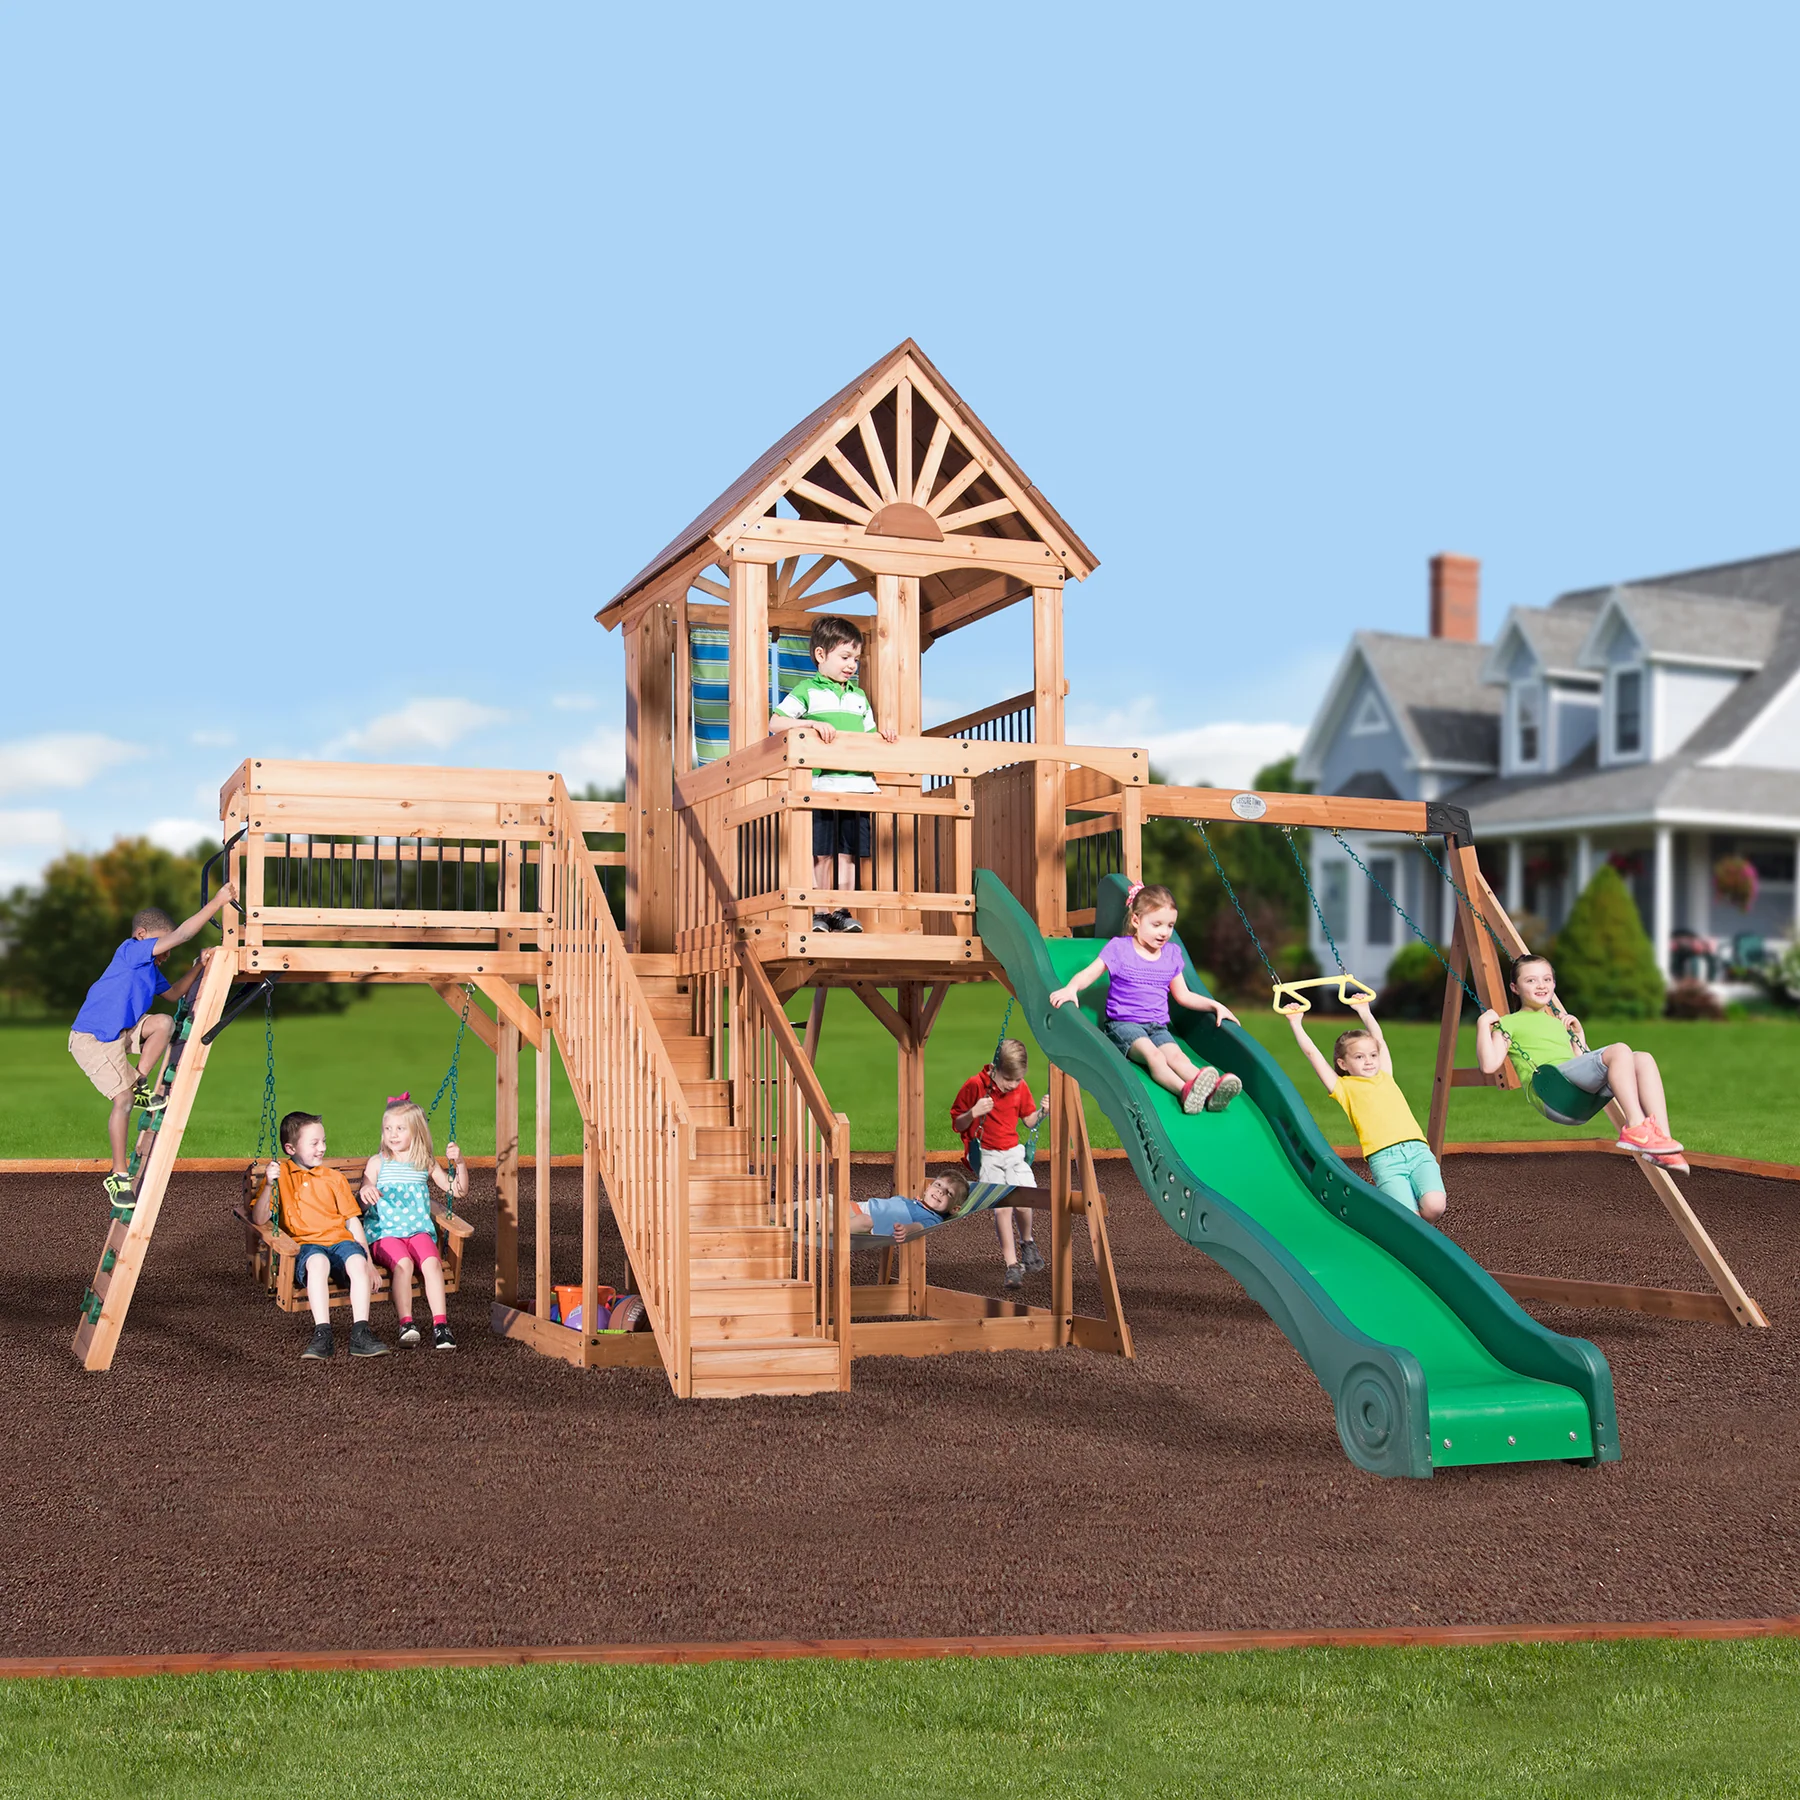
For Loose-Fill Materials (Wood Chips, Rubber Mulch): Simply pour your material directly into the contained, level frame. The border prevents erosion and migration.
For Poured-in-Place Rubber or Tiles: These can be installed directly on the compacted, level aggregate base for a premium finish.
Why This Method Trumps Simpler Approaches
Long-Term Stability: Unlike simply adding soil to the low side (which will settle unevenly), a compacted aggregate base is inert and will not decompose or shift.
Superior Drainage: Prevents water from pooling under the big wooden swing set, which protects wooden posts from rot and prevents frost heave in colder climates.
Defined Play Area: The wooden frame creates a clean, professional border for the entire play zone.
Crucial Tool Checklist: Long 2x4 board, 4-foot carpenter's level, string line, stakes, shovel, wheelbarrow, hand tamper or plate compactor, tape measure, and a saw to cut the lumber for the frame.