How to Build Your Own DIY Cubby House: A Step-by-Step Tutorial
The dream of a charming childrens cubby house nestled in your backyard doesn't have to remain a dream. Building your own DIY wooden cubby house is a rewarding project that combines family bonding, creative expression, and the immense satisfaction of creating a magical play space with your own hands. This step-by-step guide will walk you through the essential phases of constructing a safe, durable, and enchanting outdoor cubby house that will be the highlight of your garden for years to come.
Phase 1: Planning & Design – The Blueprint for Success
Before you buy a single piece of lumber, careful planning is crucial.
Define Your Vision: What will your cubby house be? A classic cottage, a pirate ship deck, or a simple rustic retreat? Sketch your ideas and involve your children in the design process—it builds excitement and ownership.
Choose the Right Location: Select a flat, well-drained area in your yard with good visibility from the house. Consider sun exposure, wind patterns, and proximity to trees.
Create a Materials List: For a basic 4x4 foot wooden cubby house frame, you will typically need:
Foundation & Frame: Pressure-treated 4x4 posts for stumps, 2x4 and 2x2 lumber for the frame.
Walls & Floor: Exterior-grade plywood for flooring and wall sheathing.
Roof: Plywood sheets and asphalt shingles or corrugated roofing.
Fasteners & Hardware: Galvanized or stainless-steel screws, bolts, hinges, and door latches.
Finishes: Non-toxic, child-safe exterior paint or wood stain.
Tools: Power drill, circular saw, level, tape measure, safety glasses, and work gloves.
Phase 2: Foundation & Floor Frame – Building a Stable Base
A level, sturdy base is non-negotiable for any safe outdoor cubby.
Prepare the Site: Clear the area of grass and debris. You can lay a weed barrier and cover it with gravel for drainage, or pour small concrete footings for the support posts.
Construct the Floor Frame: Build a rectangular frame from 2x4 lumber. Use galvanized corner brackets for strength. Ensure it is perfectly square by measuring the diagonals—they should be equal.
Install Support and Flooring: Attach your 4x4 support posts at each corner, securing them to the frame. Then, attach the plywood floor sheathing to the frame using screws, creating a solid platform for your cubby house.
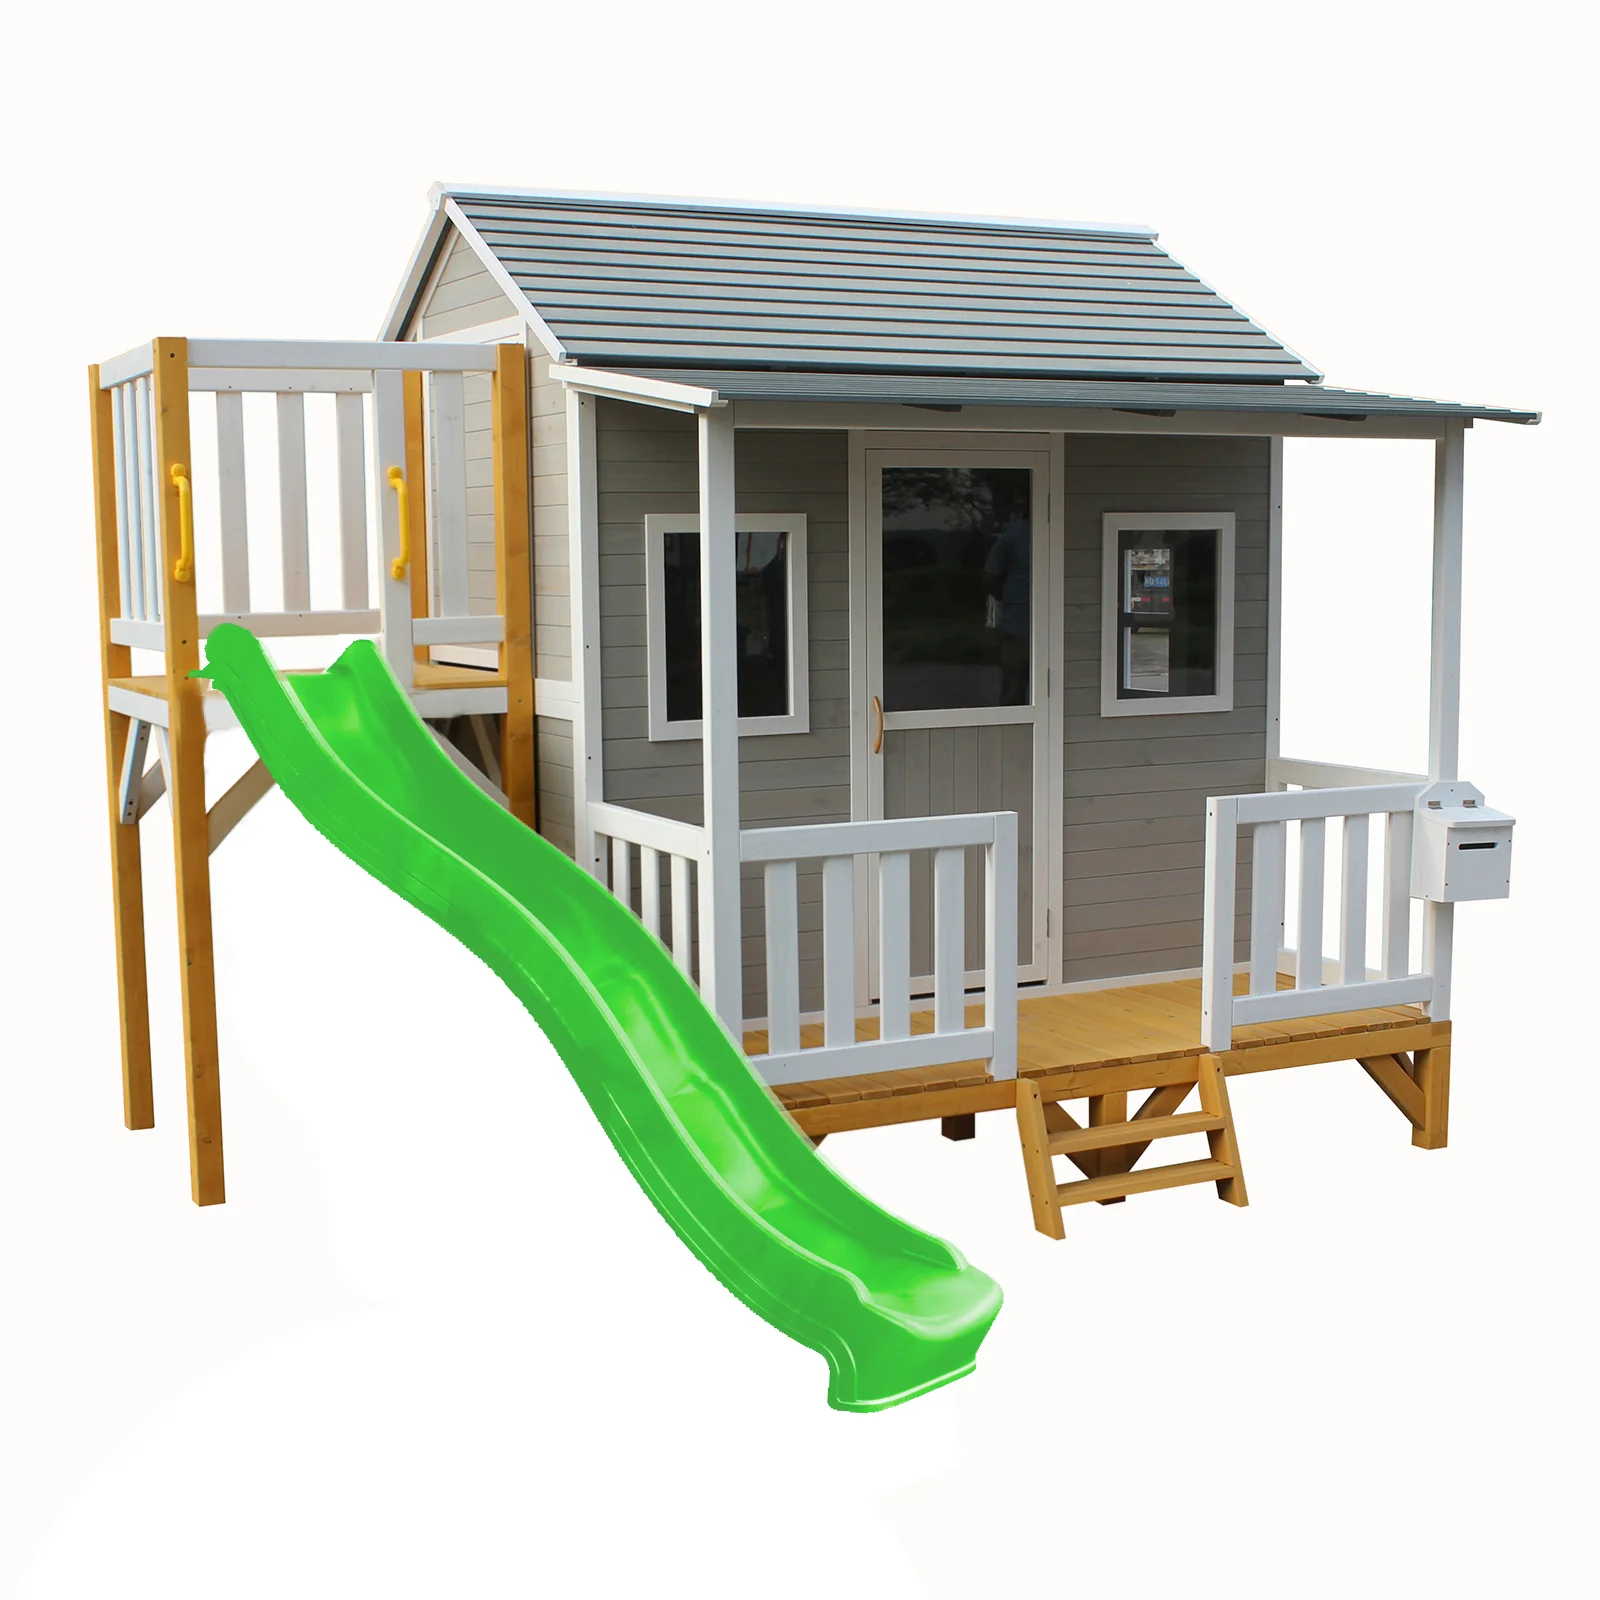
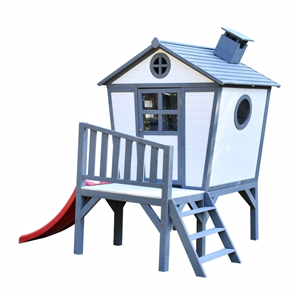
outdoor cubby
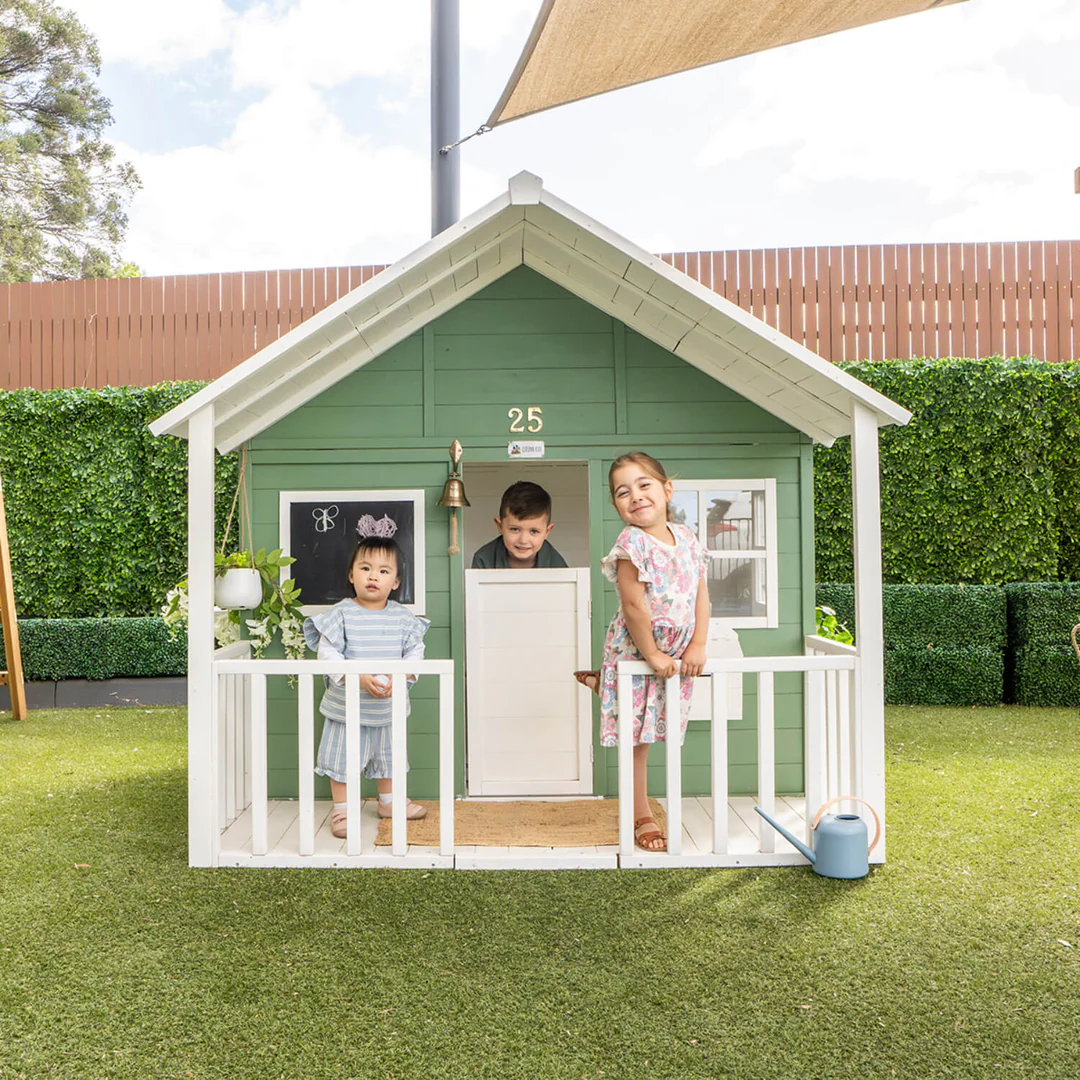
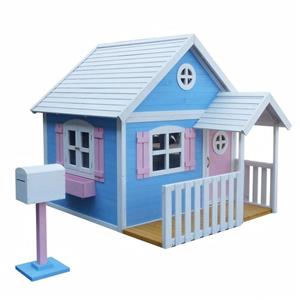
wooden cubby house
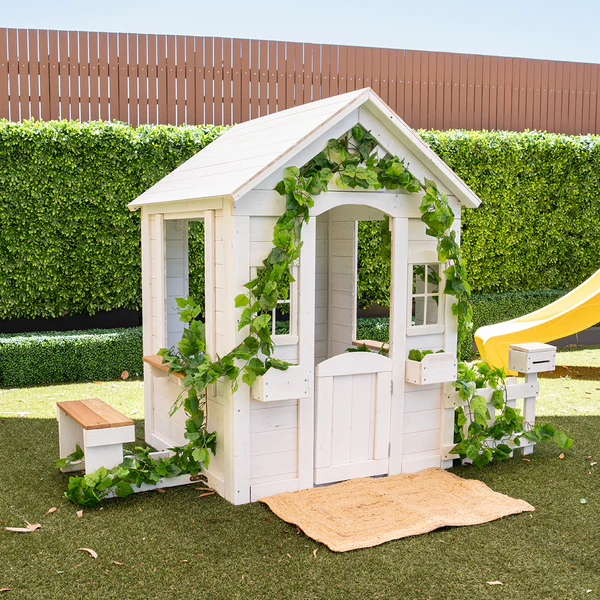
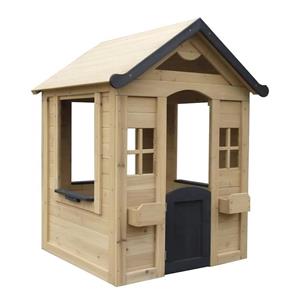
outdoor cubby house
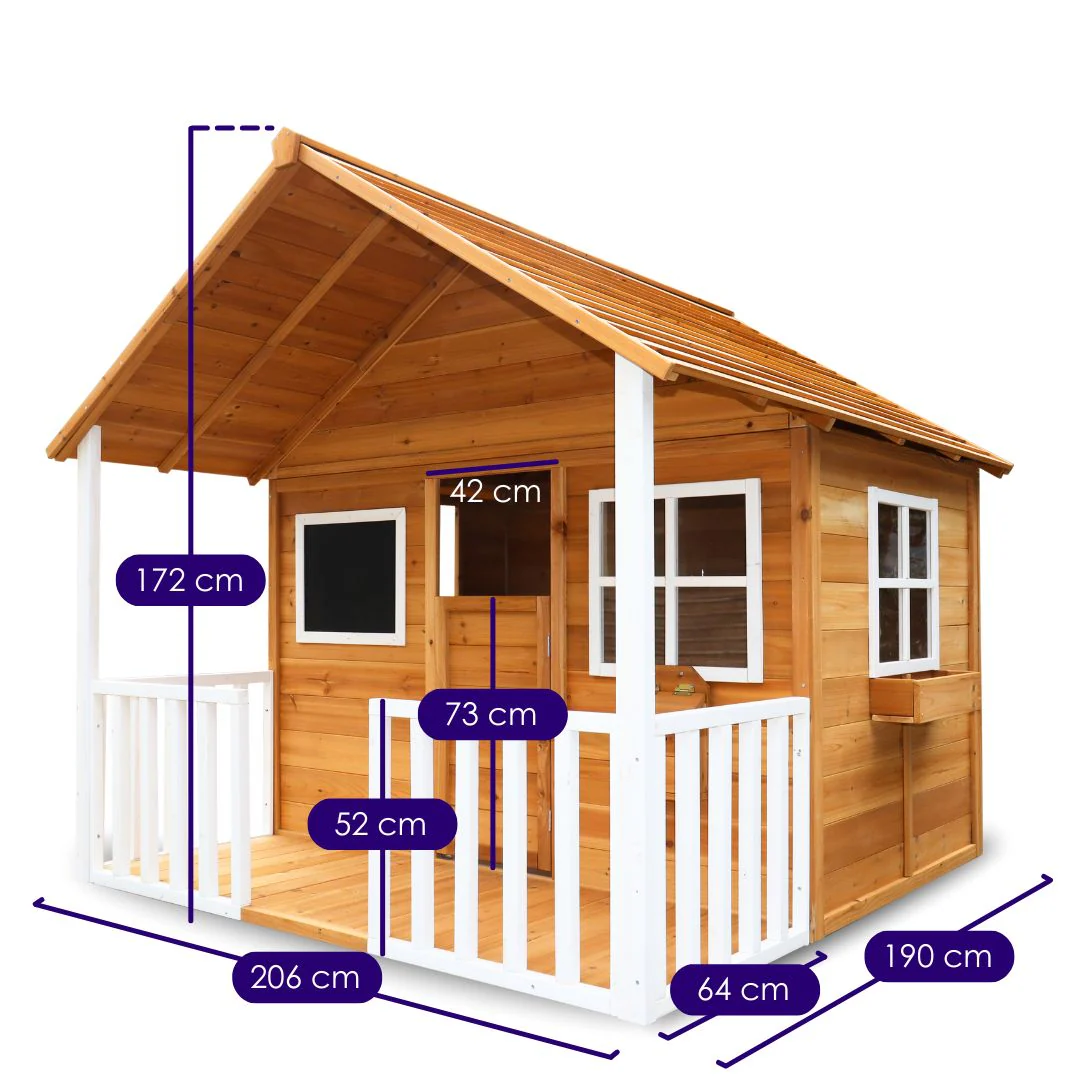
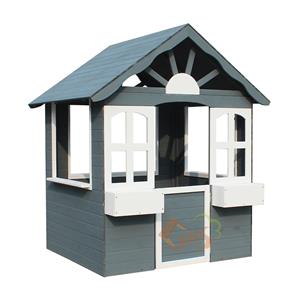
childrens cubby house
Phase 3: Wall Framing & Sheathing – Raising the Walls
This phase gives your wooden cubby house its shape.
Build Wall Frames: Construct four wall frames (front, back, two sides) using 2x2 or 2x3 lumber. Remember to frame out spaces for doors and windows. Pre-assemble these on a flat surface.
Erect and Secure Walls: With a helper, lift each wall frame into place on the floor platform. Use a level to ensure each wall is plumb (perfectly vertical), then securely screw the wall frames to the floor and to each other at the corners.
Apply Wall Sheathing: Cover the framed walls with exterior plywood sheets. This adds immense structural rigidity and provides a surface for your final finish.
Phase 4: Roofing & Weatherproofing – The Protective Shell
A sound roof keeps the interior of your outdoor cubby house dry and inviting.
Construct the Roof: For a simple gable (A-frame) roof, build two triangular trusses from 2x4s. Attach a ridge beam along the peak, then add rafters. For a simpler shed-style roof, frame a sloped plane.
Install Roof Sheathing & Covering: Nail plywood sheets to the roof frame. Then, cover it with your chosen material—asphalt shingles are durable and effective. Ensure you install roof flashing where needed to direct water away.
Weatherproof Openings: Install windows (fixed acrylic sheets are safe and practical) and a door. Use exterior caulk to seal any gaps around frames to prevent water ingress.
Phase 5: Finishing Touches – Safety, Fun, and Personality
This is where your childrens cubby house comes to life.
Sand and Finish: Sand every surface, especially edges and corners, to a smooth finish. Apply 2-3 coats of non-toxic, water-based exterior paint or stain. This is a great family activity!
Add Safety Features: Install secure railings on any elevated deck. Ensure all hardware is flush or covered. Add a child-friendly latch to the door.
Personalize: This is the fun part! Let your children help add curtains, a name plaque, a mailbox, or a planter box. The interior can be furnished with soft cushions, a small table, and their favorite toys.
Building your own DIY cubby house is an achievable and profoundly satisfying project. By following these steps—meticulous planning, building a solid foundation, framing sturdy walls, installing a protective roof, and applying safe, creative finishes—you create more than just a play structure. You build a wooden cubby house filled with the intangible value of family effort, a testament to craftsmanship, and a dedicated space where imagination will flourish for years to come. This outdoor cubby house will stand as a unique and cherished landmark in your family's story.
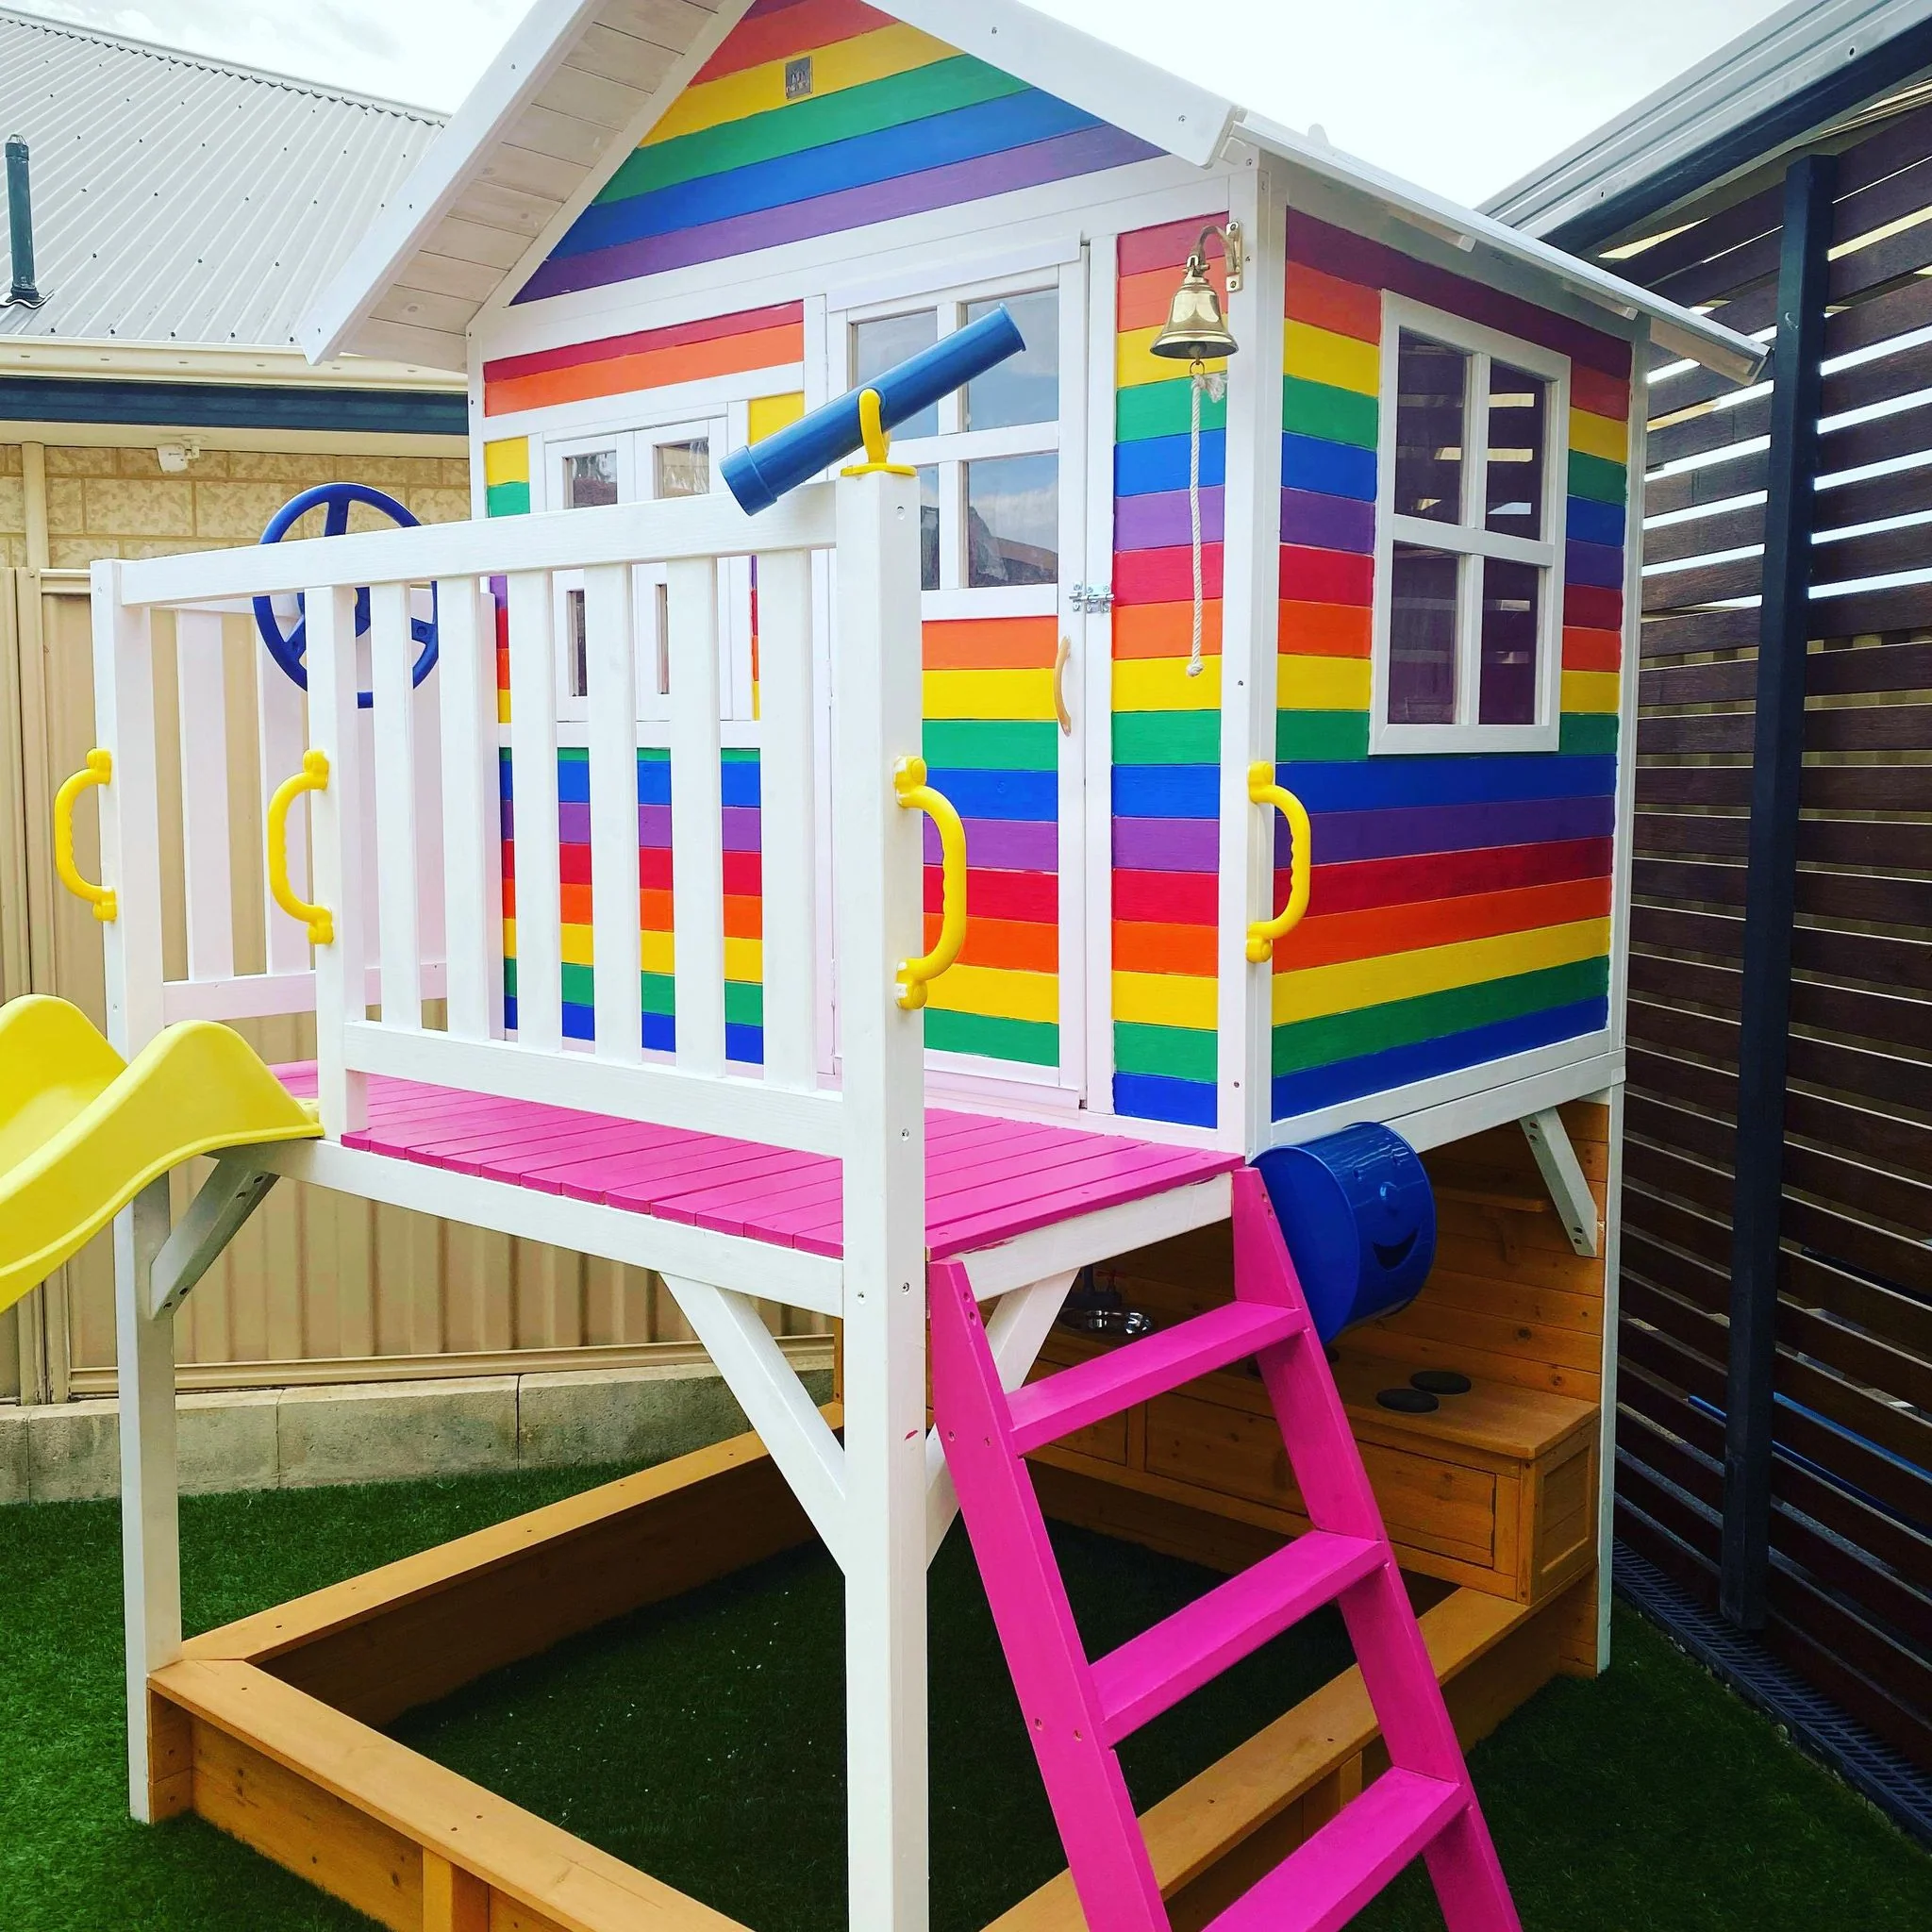
outdoor cubby
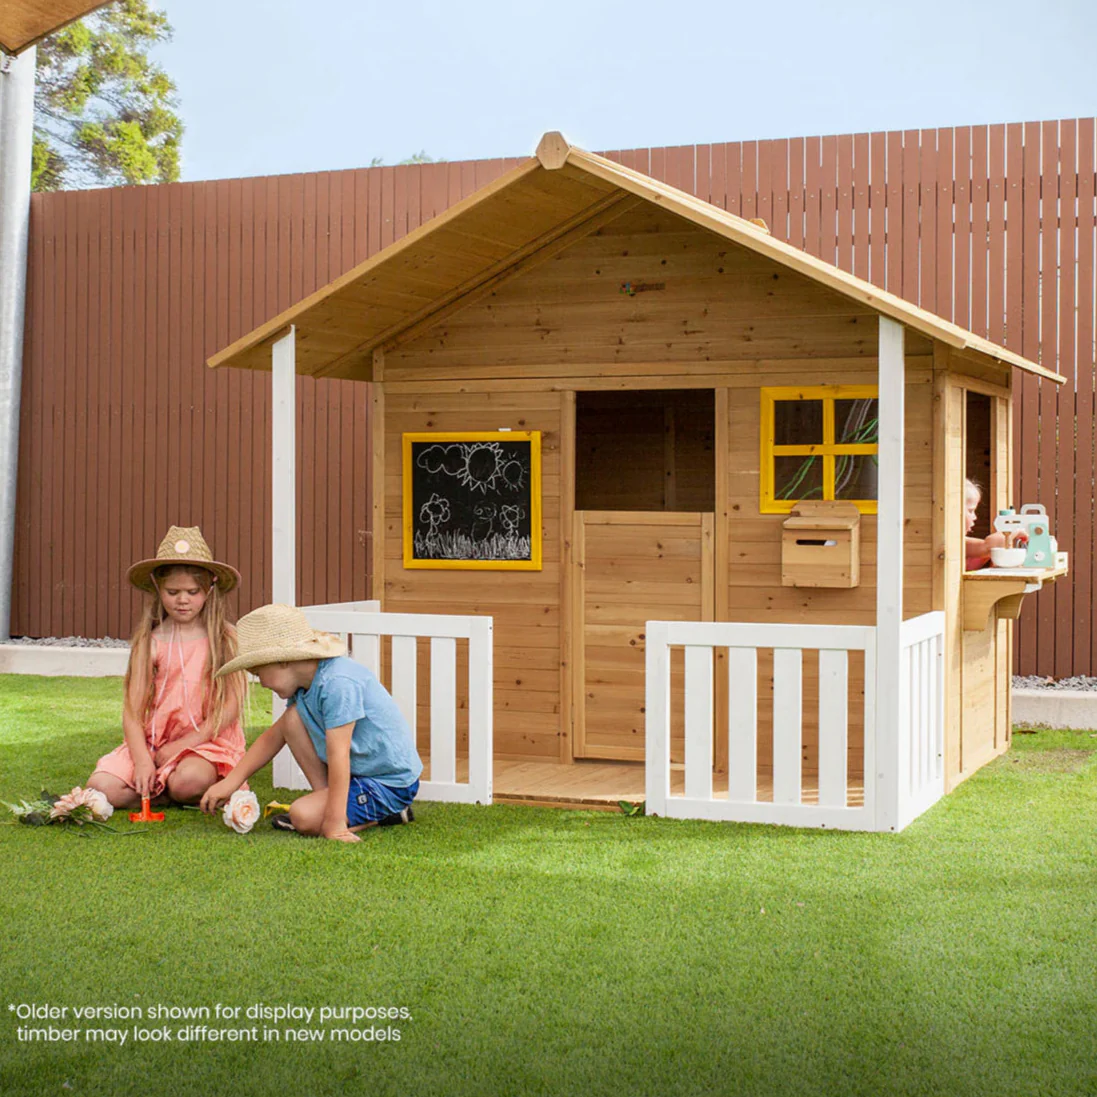
wooden cubby house
outdoor cubby house
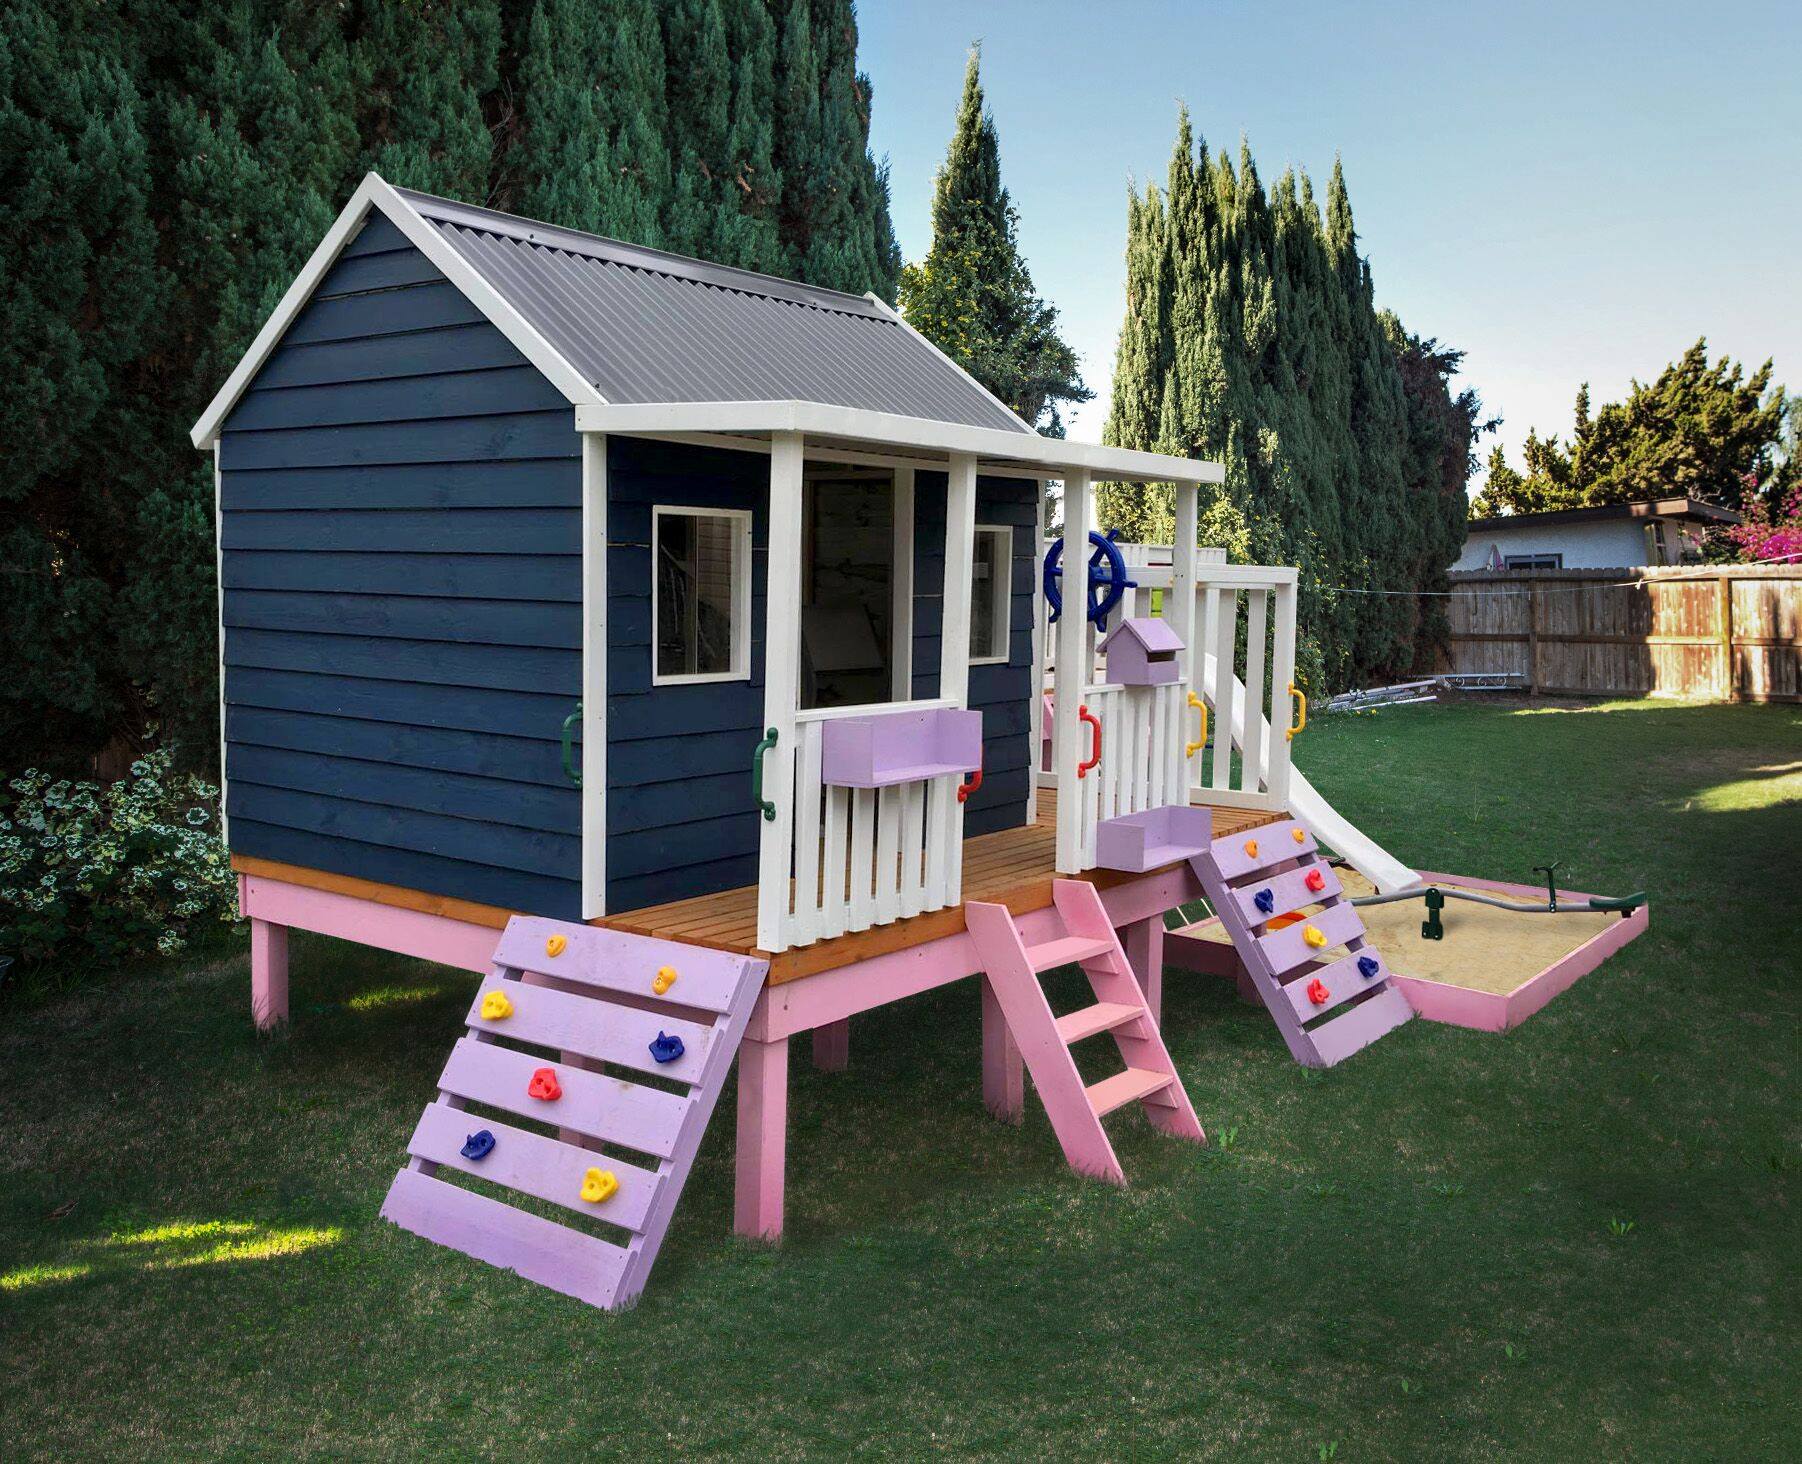
childrens cubby house